> ## Documentation Index
> Fetch the complete documentation index at: https://langchain-zh.cn/llms.txt
> Use this file to discover all available pages before exploring further.
# 如何使用 LangGraph 实现生成式用户界面
**先决条件**
* [LangSmith](/langsmith/home)
* [Agent Server](/langsmith/agent-server)
* [`useStream()` React Hook](/oss/python/langchain/streaming/frontend)
生成式用户界面(Generative UI)允许智能体超越文本,生成丰富的用户界面。这使得创建更具交互性和上下文感知的应用程序成为可能,其中用户界面会根据对话流程和 AI 响应进行自适应调整。
Weather for {props.city}
;
};
export default {
weather: WeatherComponent,
};
```
接下来,在您的 `langgraph.json` 配置中定义您的 UI 组件:
```json theme={"theme":{"light":"catppuccin-latte","dark":"catppuccin-mocha"}}
{
"node_version": "20",
"graphs": {
"agent": "./src/agent/index.ts:graph"
},
"ui": {
"agent": "./src/agent/ui.tsx"
}
}
```
`ui` 部分指向将被图使用的 UI 组件。默认情况下,我们建议使用与图名称相同的键,但您可以根据需要拆分组件,更多详情请参见[自定义 UI 组件的命名空间](#自定义-ui-组件的命名空间)。
LangSmith 将自动打包您的 UI 组件代码和样式,并将其作为外部资源提供,可由 `LoadExternalComponent` 组件加载。一些依赖项,如 `react` 和 `react-dom`,将自动从捆绑包中排除。
CSS 和 Tailwind 4.x 也开箱即用,因此您可以在 UI 组件中自由使用 Tailwind 类以及 `shadcn/ui`。
```tsx theme={"theme":{"light":"catppuccin-latte","dark":"catppuccin-mocha"}}
import "./styles.css";
const WeatherComponent = (props: { city: string }) => {
return Weather for {props.city}
;
};
export default {
weather: WeatherComponent,
};
```
```css theme={"theme":{"light":"catppuccin-latte","dark":"catppuccin-mocha"}}
@import "tailwindcss";
```
### 2. 在您的图中发送 UI 组件
```python title="src/agent.py" theme={"theme":{"light":"catppuccin-latte","dark":"catppuccin-mocha"}}
import uuid
from typing import Annotated, Sequence, TypedDict
from langchain.messages import AIMessage
from langchain_core.messages import BaseMessage
from langchain_openai import ChatOpenAI
from langgraph.graph import StateGraph
from langgraph.graph.message import add_messages
from langgraph.graph.ui import AnyUIMessage, ui_message_reducer, push_ui_message
class AgentState(TypedDict): # noqa: D101
messages: Annotated[Sequence[BaseMessage], add_messages]
ui: Annotated[Sequence[AnyUIMessage], ui_message_reducer]
async def weather(state: AgentState):
class WeatherOutput(TypedDict):
city: str
weather: WeatherOutput = (
await ChatOpenAI(model="gpt-4.1-mini")
.with_structured_output(WeatherOutput)
.with_config({"tags": ["nostream"]})
.ainvoke(state["messages"])
)
message = AIMessage(
id=str(uuid.uuid4()),
content=f"Here's the weather for {weather['city']}",
)
# 发出与消息关联的 UI 元素
push_ui_message("weather", weather, message=message)
return {"messages": [message]}
workflow = StateGraph(AgentState)
workflow.add_node(weather)
workflow.add_edge("__start__", "weather")
graph = workflow.compile()
```
使用 `typedUi` 工具从您的智能体节点发出 UI 元素:
```typescript title="src/agent/index.ts" theme={"theme":{"light":"catppuccin-latte","dark":"catppuccin-mocha"}}
import {
typedUi,
uiMessageReducer,
} from "@langchain/langgraph-sdk/react-ui/server";
import { ChatOpenAI } from "@langchain/openai";
import { v4 as uuidv4 } from "uuid";
import { z } from "zod";
import type ComponentMap from "./ui.js";
import {
Annotation,
MessagesAnnotation,
StateGraph,
type LangGraphRunnableConfig,
} from "@langchain/langgraph";
const AgentState = Annotation.Root({
...MessagesAnnotation.spec,
ui: Annotation({ reducer: uiMessageReducer, default: () => [] }),
});
export const graph = new StateGraph(AgentState)
.addNode("weather", async (state, config) => {
// 提供组件映射的类型以确保 `ui.push()` 调用的类型安全,
// 同时将消息推送到 `ui` 并发送自定义事件。
const ui = typedUi(config);
const weather = await new ChatOpenAI({ model: "gpt-4.1-mini" })
.withStructuredOutput(z.object({ city: z.string() }))
.withConfig({ tags: ["nostream"] })
.invoke(state.messages);
const response = {
id: uuidv4(),
type: "ai",
content: `Here's the weather for ${weather.city}`,
};
// 发出与 AI 消息关联的 UI 元素
ui.push({ name: "weather", props: weather }, { message: response });
return { messages: [response] };
})
.addEdge("__start__", "weather")
.compile();
```
### 3. 在您的 React 应用程序中处理 UI 元素
在客户端,您可以使用 `useStream()` 和 `LoadExternalComponent` 来显示 UI 元素。
```tsx title="src/app/page.tsx" theme={"theme":{"light":"catppuccin-latte","dark":"catppuccin-mocha"}}
"use client";
import { useStream } from "@langchain/langgraph-sdk/react";
import { LoadExternalComponent } from "@langchain/langgraph-sdk/react-ui";
export default function Page() {
const { thread, values } = useStream({
apiUrl: "http://localhost:2024",
assistantId: "agent",
});
return (
{thread.messages.map((message) => (
{message.content}
{values.ui
?.filter((ui) => ui.metadata?.message_id === message.id)
.map((ui) => (
))}
Loading...}
/>
```
### 自定义 UI 组件的命名空间。
默认情况下,`LoadExternalComponent` 将使用 `useStream()` 钩子的 `assistantId` 来获取 UI 组件的代码。您可以通过向 `LoadExternalComponent` 组件提供 `namespace` 属性来自定义此行为。
```tsx theme={"theme":{"light":"catppuccin-latte","dark":"catppuccin-mocha"}}
```json theme={"theme":{"light":"catppuccin-latte","dark":"catppuccin-mocha"}}
{
"ui": {
"custom-namespace": "./src/agent/ui.tsx"
}
}
```
### 从 UI 组件访问和与会话状态交互
您可以使用 `useStreamContext` 钩子在 UI 组件内部访问会话状态。
```tsx theme={"theme":{"light":"catppuccin-latte","dark":"catppuccin-mocha"}}
import { useStreamContext } from "@langchain/langgraph-sdk/react-ui";
const WeatherComponent = (props: { city: string }) => {
const { thread, submit } = useStreamContext();
return (
<>
Weather for {props.city}
{
const newMessage = {
type: "human",
content: `What's the weather in ${props.city}?`,
};
submit({ messages: [newMessage] });
}}
>
Retry
);
};
```
### 向客户端组件传递额外的上下文
您可以通过向 `LoadExternalComponent` 组件提供 `meta` 属性,向客户端组件传递额外的上下文。
```tsx theme={"theme":{"light":"catppuccin-latte","dark":"catppuccin-mocha"}}
Weather for {props.city} (user: {meta?.userId})
);
};
```
### 从服务器流式传输 UI 消息
您可以在节点执行完成之前,通过使用 `useStream()` 钩子的 `onCustomEvent` 回调来流式传输 UI 消息。这在 LLM 生成响应时更新 UI 组件时特别有用。
```tsx theme={"theme":{"light":"catppuccin-latte","dark":"catppuccin-mocha"}}
import { uiMessageReducer } from "@langchain/langgraph-sdk/react-ui";
const { thread, submit } = useStream({
apiUrl: "http://localhost:2024",
assistantId: "agent",
onCustomEvent: (event, options) => {
options.mutate((prev) => {
const ui = uiMessageReducer(prev.ui ?? [], event);
return { ...prev, ui };
});
},
});
```
然后,您可以通过调用 `ui.push()` / `push_ui_message()` 并指定要更新的 UI 消息的相同 ID 来推送对 UI 组件的更新。
```python theme={"theme":{"light":"catppuccin-latte","dark":"catppuccin-mocha"}}
from typing import Annotated, Sequence, TypedDict
from langchain_anthropic import ChatAnthropic
from langchain.messages import AIMessage, AIMessageChunk, BaseMessage
from langgraph.graph import StateGraph
from langgraph.graph.message import add_messages
from langgraph.graph.ui import AnyUIMessage, push_ui_message, ui_message_reducer
class AgentState(TypedDict): # noqa: D101
messages: Annotated[Sequence[BaseMessage], add_messages]
ui: Annotated[Sequence[AnyUIMessage], ui_message_reducer]
class CreateTextDocument(TypedDict):
"""Prepare a document heading for the user."""
title: str
async def writer_node(state: AgentState):
model = ChatAnthropic(model="claude-sonnet-4-6")
message: AIMessage = await model.bind_tools(
tools=[CreateTextDocument],
tool_choice={"type": "tool", "name": "CreateTextDocument"},
).ainvoke(state["messages"])
tool_call = next(
(x["args"] for x in message.tool_calls if x["name"] == "CreateTextDocument"),
None,
)
if tool_call:
ui_message = push_ui_message("writer", tool_call, message=message)
ui_message_id = ui_message["id"]
# 我们已经通过 UI 消息将 LLM 响应流式传输到客户端,
# 因此不需要再次将其流式传输到 `messages` 流模式。
content_stream = model.with_config({"tags": ["nostream"]}).astream(
f"Create a document with the title: {tool_call['title']}"
)
content: AIMessageChunk | None = None
async for chunk in content_stream:
content = content + chunk if content else chunk
push_ui_message(
"writer",
{"content": content.text()},
id=ui_message_id,
message=message,
# 使用 `merge=True` 将属性与现有的 UI 消息合并
merge=True,
)
return {"messages": [message]}
```
```tsx theme={"theme":{"light":"catppuccin-latte","dark":"catppuccin-mocha"}}
import {
Annotation,
MessagesAnnotation,
type LangGraphRunnableConfig,
} from "@langchain/langgraph";
import { z } from "zod";
import { ChatAnthropic } from "@langchain/anthropic";
import {
typedUi,
uiMessageReducer,
} from "@langchain/langgraph-sdk/react-ui/server";
import type { AIMessageChunk } from "@langchain/core/messages";
import type ComponentMap from "./ui";
const AgentState = Annotation.Root({
...MessagesAnnotation.spec,
ui: Annotation({ reducer: uiMessageReducer, default: () => [] }),
});
async function writerNode(
state: typeof AgentState.State,
config: LangGraphRunnableConfig
): Promise {
const ui = typedUi(config);
const model = new ChatAnthropic({ model: "claude-sonnet-4-6" });
const message = await model
.bindTools(
[
{
name: "create_text_document",
description: "Prepare a document heading for the user.",
schema: z.object({ title: z.string() }),
},
],
{ tool_choice: { type: "tool", name: "create_text_document" } }
)
.invoke(state.messages);
type ToolCall = { name: "create_text_document"; args: { title: string } };
const toolCall = message.tool_calls?.find(
(tool): tool is ToolCall => tool.name === "create_text_document"
);
if (toolCall) {
const { id, name } = ui.push(
{ name: "writer", props: { title: toolCall.args.title } },
{ message }
);
const contentStream = await model
// 我们已经通过 UI 消息将 LLM 响应流式传输到客户端,
// 因此不需要再次将其流式传输到 `messages` 流模式。
.withConfig({ tags: ["nostream"] })
.stream(`Create a short poem with the topic: ${message.text}`);
let content: AIMessageChunk | undefined;
for await (const chunk of contentStream) {
content = content?.concat(chunk) ?? chunk;
ui.push(
{ id, name, props: { content: content?.text } },
// 使用 `merge: true` 将属性与现有的 UI 消息合并
{ message, merge: true }
);
}
}
return { messages: [message] };
}
```
```tsx theme={"theme":{"light":"catppuccin-latte","dark":"catppuccin-mocha"}}
function WriterComponent(props: { title: string; content?: string }) {
return (
{props.title}
{props.content}
);
}
export default {
weather: WriterComponent,
};
```
### 从状态中移除 UI 消息
类似于可以通过追加 RemoveMessage 从状态中移除消息,您可以通过调用 `remove_ui_message` / `ui.delete` 并指定 UI 消息的 ID 来从状态中移除 UI 消息。
```python theme={"theme":{"light":"catppuccin-latte","dark":"catppuccin-mocha"}}
from langgraph.graph.ui import push_ui_message, delete_ui_message
# 推送消息
message = push_ui_message("weather", {"city": "London"})
# 移除该消息
delete_ui_message(message["id"])
```
```tsx theme={"theme":{"light":"catppuccin-latte","dark":"catppuccin-mocha"}}
// 推送消息
const message = ui.push({ name: "weather", props: { city: "London" } });
// 移除该消息
ui.delete(message.id);
```
## 了解更多
* [JS/TS SDK 参考](https://langchain-ai.github.io/langgraphjs/reference/modules/sdk.html)
***
[Edit this page on GitHub](https://github.com/langchain-ai/docs/edit/main/src/i18n\zh-CN\langsmith\generative-ui-react.mdx) or [file an issue](https://github.com/langchain-ai/docs/issues/new/choose).
[Connect these docs](/use-these-docs) to Claude, VSCode, and more via MCP for real-time answers.
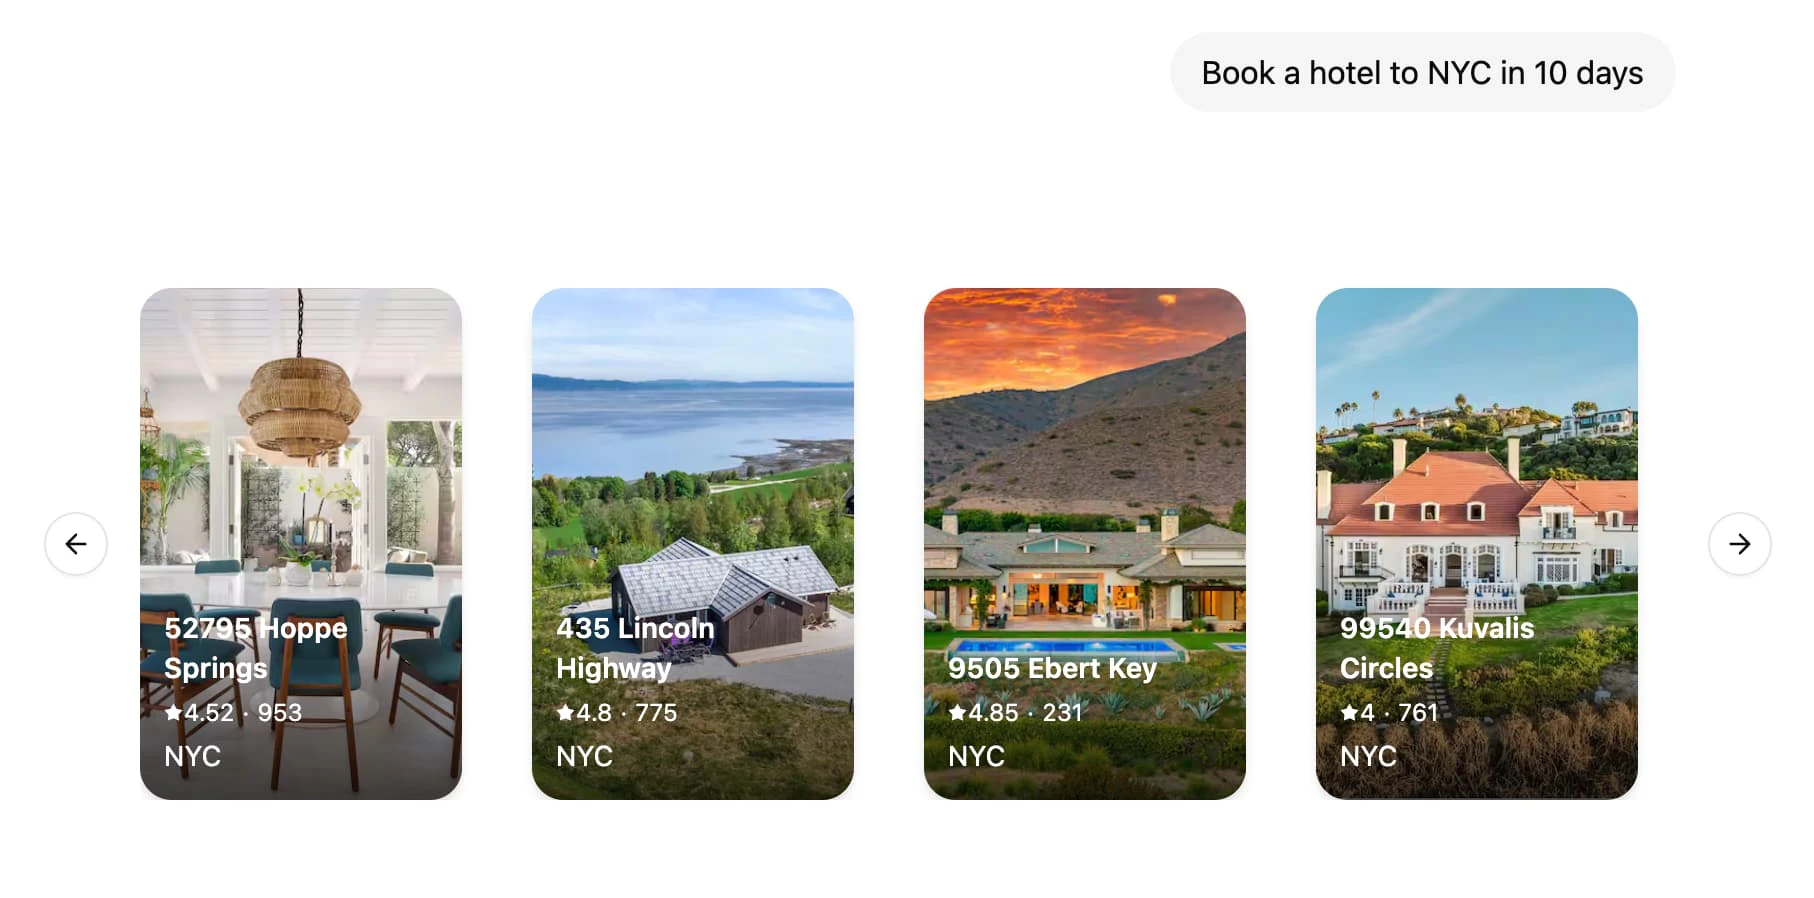 LangSmith 支持将您的 React 组件与图代码放在一起。这使您可以专注于为您的图构建特定的 UI 组件,同时轻松接入现有的聊天界面,例如 [Agent Chat](https://agentchat.vercel.app),并且仅在真正需要时才加载代码。
## 教程
### 1. 定义和配置 UI 组件
首先,创建您的第一个 UI 组件。对于每个组件,您需要提供一个唯一的标识符,该标识符将在您的图代码中用于引用该组件。
```tsx title="src/agent/ui.tsx" theme={"theme":{"light":"catppuccin-latte","dark":"catppuccin-mocha"}}
const WeatherComponent = (props: { city: string }) => {
return
LangSmith 支持将您的 React 组件与图代码放在一起。这使您可以专注于为您的图构建特定的 UI 组件,同时轻松接入现有的聊天界面,例如 [Agent Chat](https://agentchat.vercel.app),并且仅在真正需要时才加载代码。
## 教程
### 1. 定义和配置 UI 组件
首先,创建您的第一个 UI 组件。对于每个组件,您需要提供一个唯一的标识符,该标识符将在您的图代码中用于引用该组件。
```tsx title="src/agent/ui.tsx" theme={"theme":{"light":"catppuccin-latte","dark":"catppuccin-mocha"}}
const WeatherComponent = (props: { city: string }) => {
return